
Here’s
a guide to step by step installation of bathroom sink:
1. Unhooking the sink
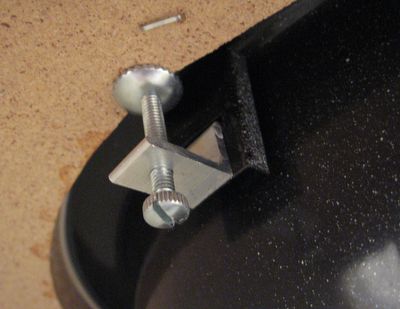
Most
metallic sinks are mounted with the help of screw clips like the ones shown in
the image. The sink can be lifted only after you loosen it.
2. Disconnecting the drain
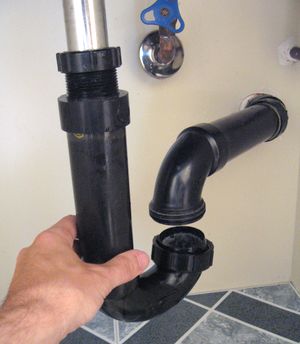
Sinks
with detachable traps are very easy to disconnect from the drain, just remove
the trap. Most drains can be pulled out by loosening of the plastic nut at the
end of the pipe. Make sure that you connect the nut and the seal to the new
drain the same way you take them off.
3. Cleaning the crud
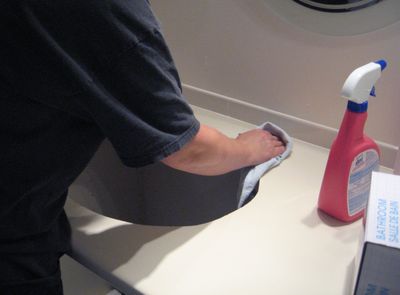
Before
installing the new sink ensure you clean the crud properly from the edges.
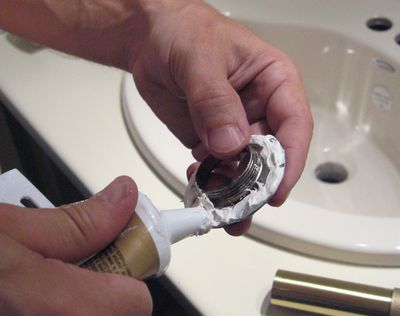
4. Choose between caulking
form a tube or a gun
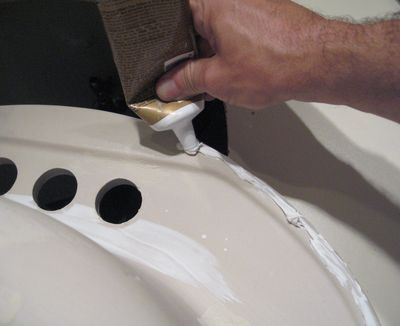
A
new porcelain sink needs no screws to be firm in place. It can be set using
caulking from a gun or a tube. Go for a gun if you have multiple projects lined
up or it will go waste. Apply generously so that there is no water seepage
later. Lower the sink carefully ensuring it is right in the centre.
5. Installing the drain
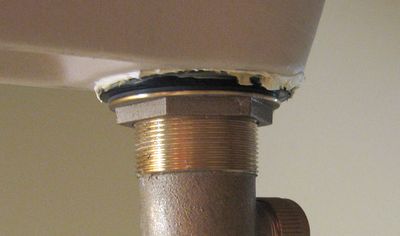
The
drain will fit into the sink from top to bottom. Ensure that the rubber gasket
and the brass washer are in place when you tighten the nut. To be extra sure
put a layer of caulking around the gasket to prevent any leakages.
6. Sealing the top of the
drain
It
is very important to seal the top of the drain with putty or caulking so that
when you plug the drain there is no water leakage.
7. Installing the flange

As
somebody to help you out by holding the drain from below while you screw the
flange on top. Now tighten the nuts and you are good to go.
No comments:
Post a Comment